How to Make Your Travel Photos Look Professional
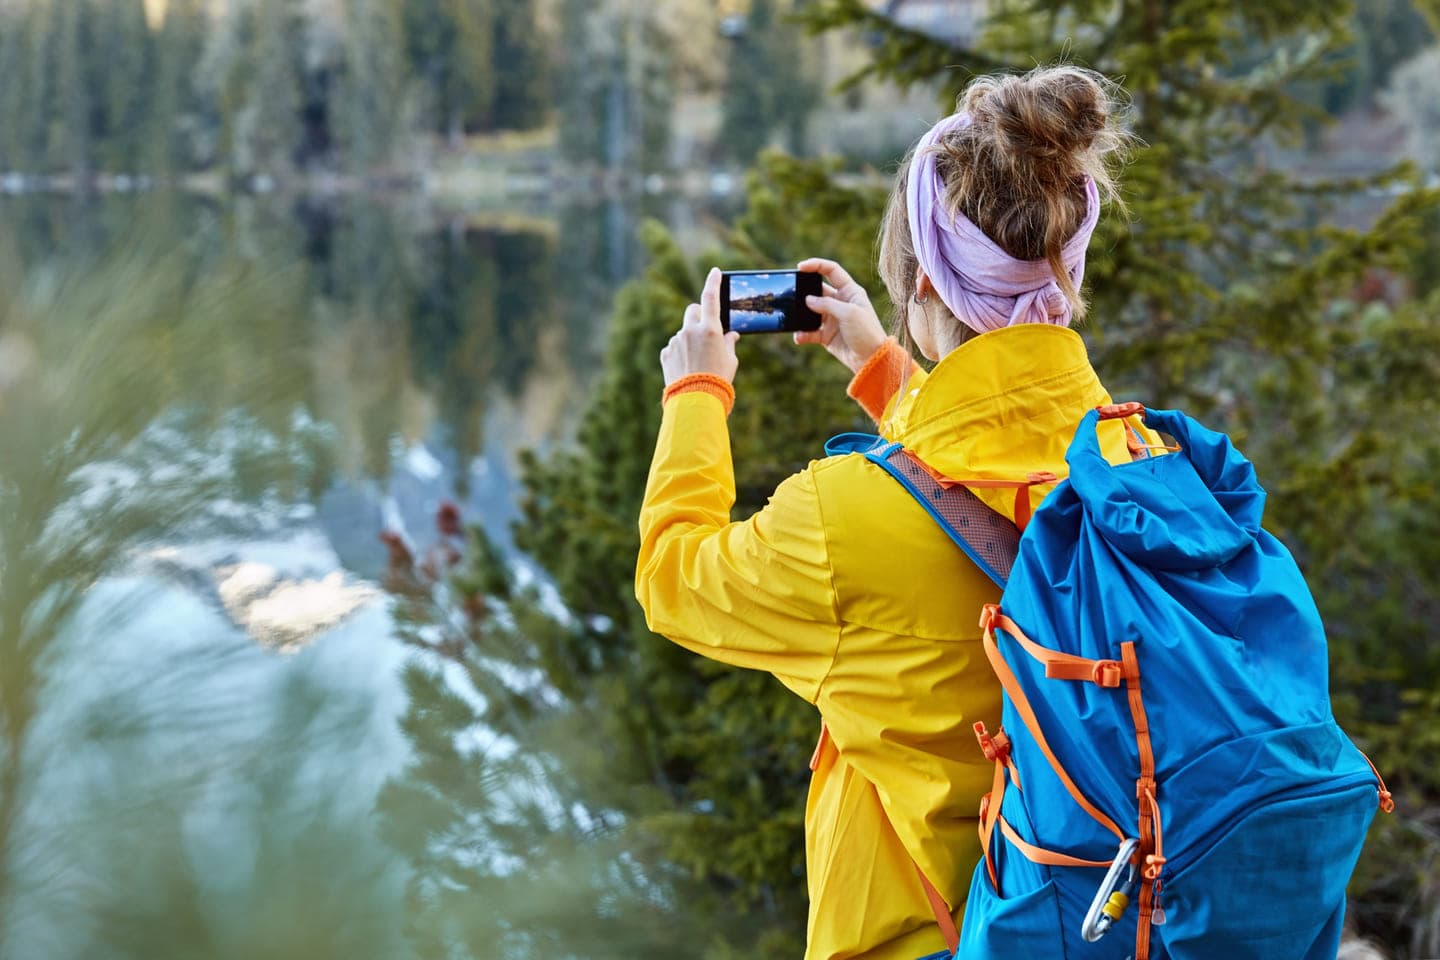
In an era when generative artificial intelligence can create any landscape in seconds, the true value of photography lies in its ability to prove the author’s presence in a specific place, capture a unique emotion, and tell a story that cannot be simulated by an algorithm.
Travel Photography Trends for 2026
Global travel photography trends for 2025 and 2026 show a clear shift toward “unfiltered reality.” Social media users and media content consumers increasingly ignore staged shots with perfect lighting, preferring images that showcase real emotions, small imperfections, and genuine moments. This phenomenon is known as “Micro-Moments” — capturing quick glances, laughter, spontaneous movements, or the dynamic energy of a city, creating the feeling of a living memory rather than just a picture.
The main challenge for professional photographers is combining this new authenticity with high-tech tools. Modern editing is no longer aimed at making a photo “better than life”; its goal is to emphasize the atmosphere and mood that were felt at the moment of shooting.
An analysis of forecasts from platforms such as Pinterest and specialized photography blogs highlights several key aesthetic directions that are expected to dominate travel content in the near future.
Mystic Outlands
A fairytale-like and surreal vision of nature. Mist, muted tones, dramatic horizons, reflective surfaces. A sense of mystery, solitude, and the grandeur of the world.
Afrohemian
The cultural richness of African islands and coastlines. Vibrant colors, sunlight, emphasis on wood and textile textures. Warmth, comfort, and a deep connection to tradition.
Funhaus
Playful modernism and design-driven aesthetics. Bold architecture, saturated colors, geometric forms, high energy. Inspiration, creativity, and the pulse of a contemporary city.
Wilderkind
A return to wild, untouched nature. Forest tones, soft morning light, focus on flora such as moss and ferns. Calm, restoration, and a meditative state.
Opera Aesthetic
Cultural sophistication and historical grandeur. Classic interiors, evening lighting, deep shadows, velvet textures. A sense of luxury, drama, and intellectual depth.
These aesthetics are not simply a set of filters; they reflect a shift in how people plan their travels. Destinations are chosen based on how travelers want to feel, and photography becomes a tool for expressing that inner state to the outside world.
Fundamental Principles of Composition and the Professional Eye
Despite the rapid development of artificial intelligence, the fundamentals of composition remain unchanged because they are rooted in the psychology of human perception. Professional editing begins at the moment the shutter button is pressed. If a frame is built chaotically, no “hacks” will turn it into a masterpiece.
Professionals use geometric and psychological techniques to guide the viewer’s attention precisely to the main focal point of the image.
- Leading Lines
One of the most powerful tools in travel photography. Roads, railway tracks, shorelines, or even building shadows can serve as visual “rails” that guide the eye from the foreground into the depth of the frame. This technique is especially effective when using wide-angle lenses from a low shooting angle.
- Rule of Thirds and the Golden Ratio
Placing the main subject at the intersection points of an imaginary 3×3 grid creates natural balance. In landscapes, professionals advise never placing the horizon line in the center; it should sit either in the upper third (if the foreground is the focus) or in the lower third (if you want to emphasize the scale of the sky).
- Layering and Depth
Creating a three-dimensional image requires a clear foreground, middle ground, and background. This allows the viewer to visually “step into” the photograph. For example, when shooting mountains, including flowers or rocks in the foreground adds scale and depth to the scene.
- Framing (Frame Within a Frame)
Using elements of the environment — window frames, arches, tree branches, or tunnels — to frame the subject. This not only concentrates attention but also adds context to the location.
- Dynamic Tension
The use of diagonal lines and triangles adds energy to a photograph. Unlike horizontal lines, which symbolize stability, diagonals create a sense of movement and incompleteness, making them ideal for street photography.
Light as the Foundation
Understanding light is critical to minimizing editing time. A photographer does not capture an object — they capture the light reflected from it. Changing the lighting completely transforms the mood of a frame, even if the subject remains the same.
Golden Hour
Warm, soft light and long shadows. Ideal for portraits, landscapes, and architecture with an emphasis on texture.
Blue Hour
Cool tones, deep blues, a magical atmosphere. Perfect for city lights, night landscapes, and futuristic scenes.
Open Shade
Even, diffused light without harsh shadows. Suitable for portraits on sunny days and macro photography.
Harsh Midday Sun
High contrast and strong shadows. A “street energy” style with crisp architectural geometry.
Technical Editing Hacks
Professional editing is not about hiding a bad shot, but about revealing the potential of a good one. In 2025, the workflow is based on non-destructive editing, where every step can be undone or adjusted.
The first stage should always be sorting and organizing. Professionals recommend being ruthless: delete duplicates, blurry frames, and shots with weak composition. Storing original RAW files separately from edited copies is a standard safety practice.
Professional Correction Steps
- Geometry Alignment
Automatic or manual perspective correction tools help fix a tilted horizon or distorted building lines. This is critical in architectural photography.
- White Balance
When shooting in RAW, you can adjust color temperature without losing quality. Making an image warmer or cooler can dramatically change the emotional perception of the scene.
- Exposure and Histogram Correction
It is important to ensure that details are not lost in the brightest or darkest areas — so-called “blown” highlights or “crushed” blacks. Modern software allows selective recovery of shadow details and reduction of overly bright highlights.
- Sharpening and Noise Reduction
Especially relevant for images taken at dusk. It is important to use AI-based tools that remove grain without smearing skin texture or fine landscape details.
Color correction is what separates an amateur photo from a cinematic frame. Complex color palettes that evoke specific associations are particularly popular.
- HSL (Hue, Saturation, Luminance)
This tool allows you to manipulate each color individually. For example, to make the sea look more “tropical,” you can shift the blue hue toward cyan and increase its luminance.
- Color Grading (Split Toning)
Adding a specific tint to the shadows (such as deep blue) and another to the highlights (such as warm orange) creates a classic cinematic contrast.
- Working with Green Tones
Many photographers prefer to mute bright greens in forest images, shifting them toward warmer yellowish or deeper turquoise tones, which gives the image a more refined and sophisticated look.
Artificial Intelligence in Photography
The most discussed feature of 2026 is in-camera computational photography, which enables perfectly focused and exposed shots through instant scene analysis by algorithms. However, experts emphasize the importance of preserving the “human touch.” AI is only a brush — the vision still belongs to the artist.
With the spread of AI tools, the issue of trust becomes increasingly important. Leading photography communities are introducing Content Credentials (CR) — digital signatures that indicate what changes were made using AI. For a travel blog on a marketplace platform, maintaining balance is essential: using AI to remove litter from a frame is considered normal, but generating entire architectural landmarks that never existed can damage the author’s credibility.
Overview of the Best Travel Editing Software
In 2025, the choice of software depends on the platform and the need for processing speed.
Professional desktop: Adobe Lightroom Classic, Photoshop
Mobile editing: Snapseed, VSCO, Lightroom Mobile
Subscription-free alternative: Affinity Photo 2, Darktable
Fast AI effects: Luminar Neo
For those who prefer the Apple ecosystem, the Darkroom app remains a leader thanks to its deep integration with Apple Photos and support for ProRAW without requiring file import into the app’s internal library.
Templates, Presets, and LUTs
Using presets is the most effective way to ensure the consistency of your visual brand. In 2025, photographers are moving away from a single universal filter and instead creating their own “mood libraries.”
How to Create Your Own Preset in Lightroom?
- Creating a preset is the process of distilling your aesthetic into a set of adjustable parameters.
- Edit a photo manually until you achieve the desired look.
- In the Presets panel, click “+” and select “Create Preset.”
- Choose only the settings that should remain constant, such as curves and color adjustments, while keeping exposure and white balance flexible.
- Organize presets into folders, for example “01_Beach” or “02_NightCity,” for quick access.
Instead of trying to achieve everything with one preset, professionals use a stacking method. One preset sets the base color, another adds matte shadows, and a third introduces film grain or vignetting. This approach allows you to control the intensity of each editing element separately, creating a unique look for each individual photo while maintaining a cohesive overall style.
LUTs (Look-Up Tables) are files that contain mathematical data for color transformation. They have become a standard for travel creators who want their blog photos and Instagram Reels to look identical. In Photoshop, you can export your adjustment layers as a .CUBE file, which can then be uploaded into video editing applications such as Premiere Pro or DaVinci Resolve.
Today, professionalism is measured not by the number of pixels, but by the ability to convey the spirit of a place through the lens. Using templates and presets is essential for speeding up the workflow, but they should never replace individuality. The main editing hack is knowing when to stop, preserving that delicate balance between enhanced reality and an artificial image. True travel photography should make the viewer feel the wind, hear the noise of the city, or sense the warmth of the sun on their skin. These are the images that go viral, sell on marketplaces, and remain in memory forever.